Julia Debugger
这是 julia-intellij 插件的调试器的文档。 我们的调试器基于 Keno Fischer 的 DebuggerFramework 和 ASTInterpreter2 项目。
首先我们得向 Keno 大神致敬!
预览
下载安装
Install IntelliJ IDEA (or other JetBrains IntelliJ platform IDEs such as PyCharm / WebStorm / Goland / and even Android Studio:joy:),
open Settings (Preferences for macOS) | Plugins | Browse repositories,
install Julia plugin, and create a Julia project.
在 IntelliJ 中配置 Julia
依赖项
- ASTInterpreter2#master
- DebuggerFramework#master
- JSON
- Julia 0.7+
(一定要有master)
添加包
(v1.0) pkg> add DebuggerFramework#master
(v1.0) pkg> add ASTInterpreter2#master
(v1.0) pkg> add JSON
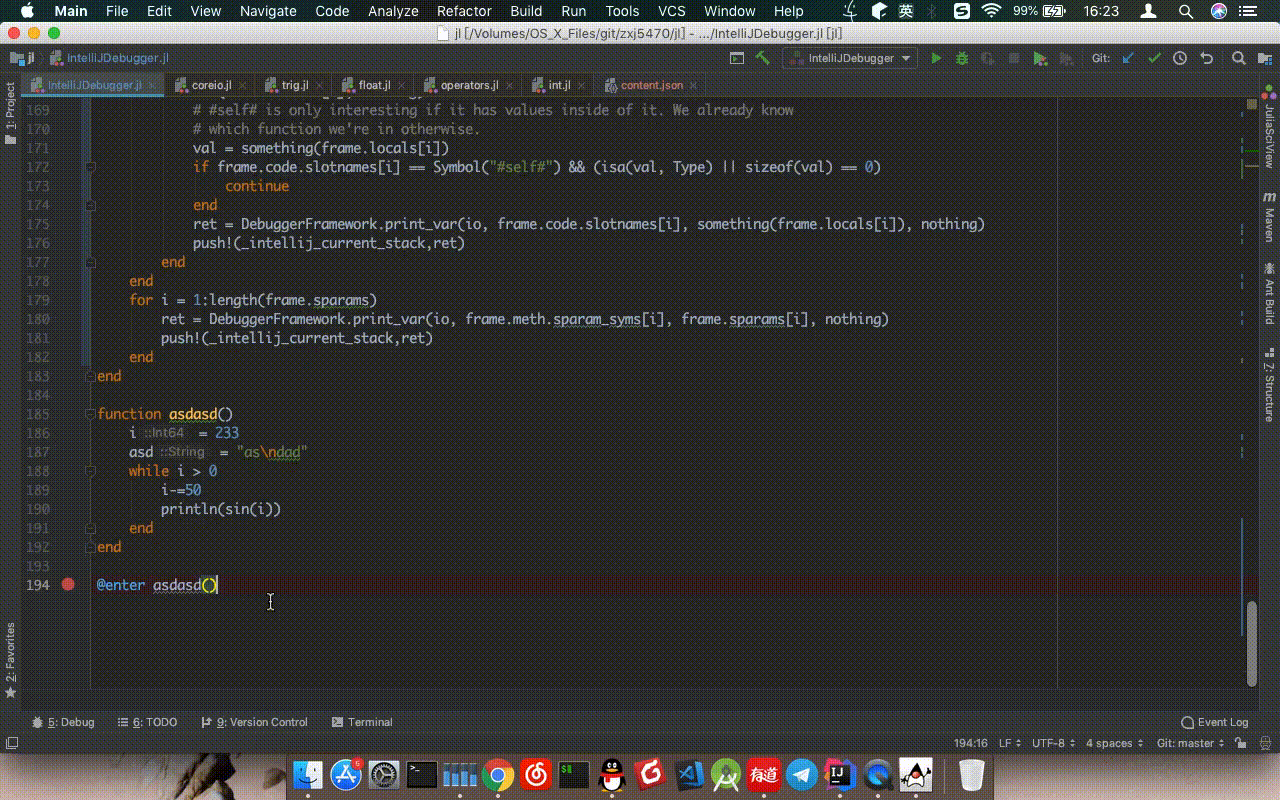
在添加完插件后创建 Julia project after adding the plugin, 然后写下一段简单的样例代码:
function func()
    i = 10
    while i>0
        println(sin(i))
        i-=2
    end
end

@enter func()
在函数调用的前面使用 @enter 宏,和 ASTInterpreter2 包的用法一样。
然后在任意一行 设置一个断点 (没啥用但是必须要有一个断点), 真正起作用的是 @enter 宏, 而不是 IDE 中的断点。
你会发现右上角的绿色虫子的 Debug 按钮可以使用了。 按下!
注意!!!
如果你在 Windows 下使用这个debugger,第一次运行的时候会让你的IDE卡住差不多 2 分钟, 不过之后就正常了。 所以我们强烈建议不要在 Windows 下用这个功能
 你可以看到左边是堆栈信息,右边是局部变量。
功能介绍

- Step over : 运行当前文件的下一个调用。对应 DebuggerFramework 的
nc命令. - Step into : 运行到更深一层。对应 DebuggerFramework 的
sg命令。 - Force Step into : (好像没啥用 useless). 对应
s命令。 - Step out : 跳出当前堆栈。
finish命令. Run to cursor(暂不支持). 运行至光标处。- Rerun: 重新运行 Julia 程序和 debug。
- Resume ▌▶: 在整个程序会话未终止的时候重新运行 debug。(注意 只有在按下红色方形Stop 才会终止程序。)